Peripherals part 1: Attaching the camera
This page presents how to set a pixie camera below the setup. The camera should be far enough to record the whole bottom of the air table box.
Step 1: 3D print a small plate
-
3D print the following file:
-
Alternatively you can use a 50mm x 30mm x 1,5mm plastic plate.
Step 2: Setup / placement
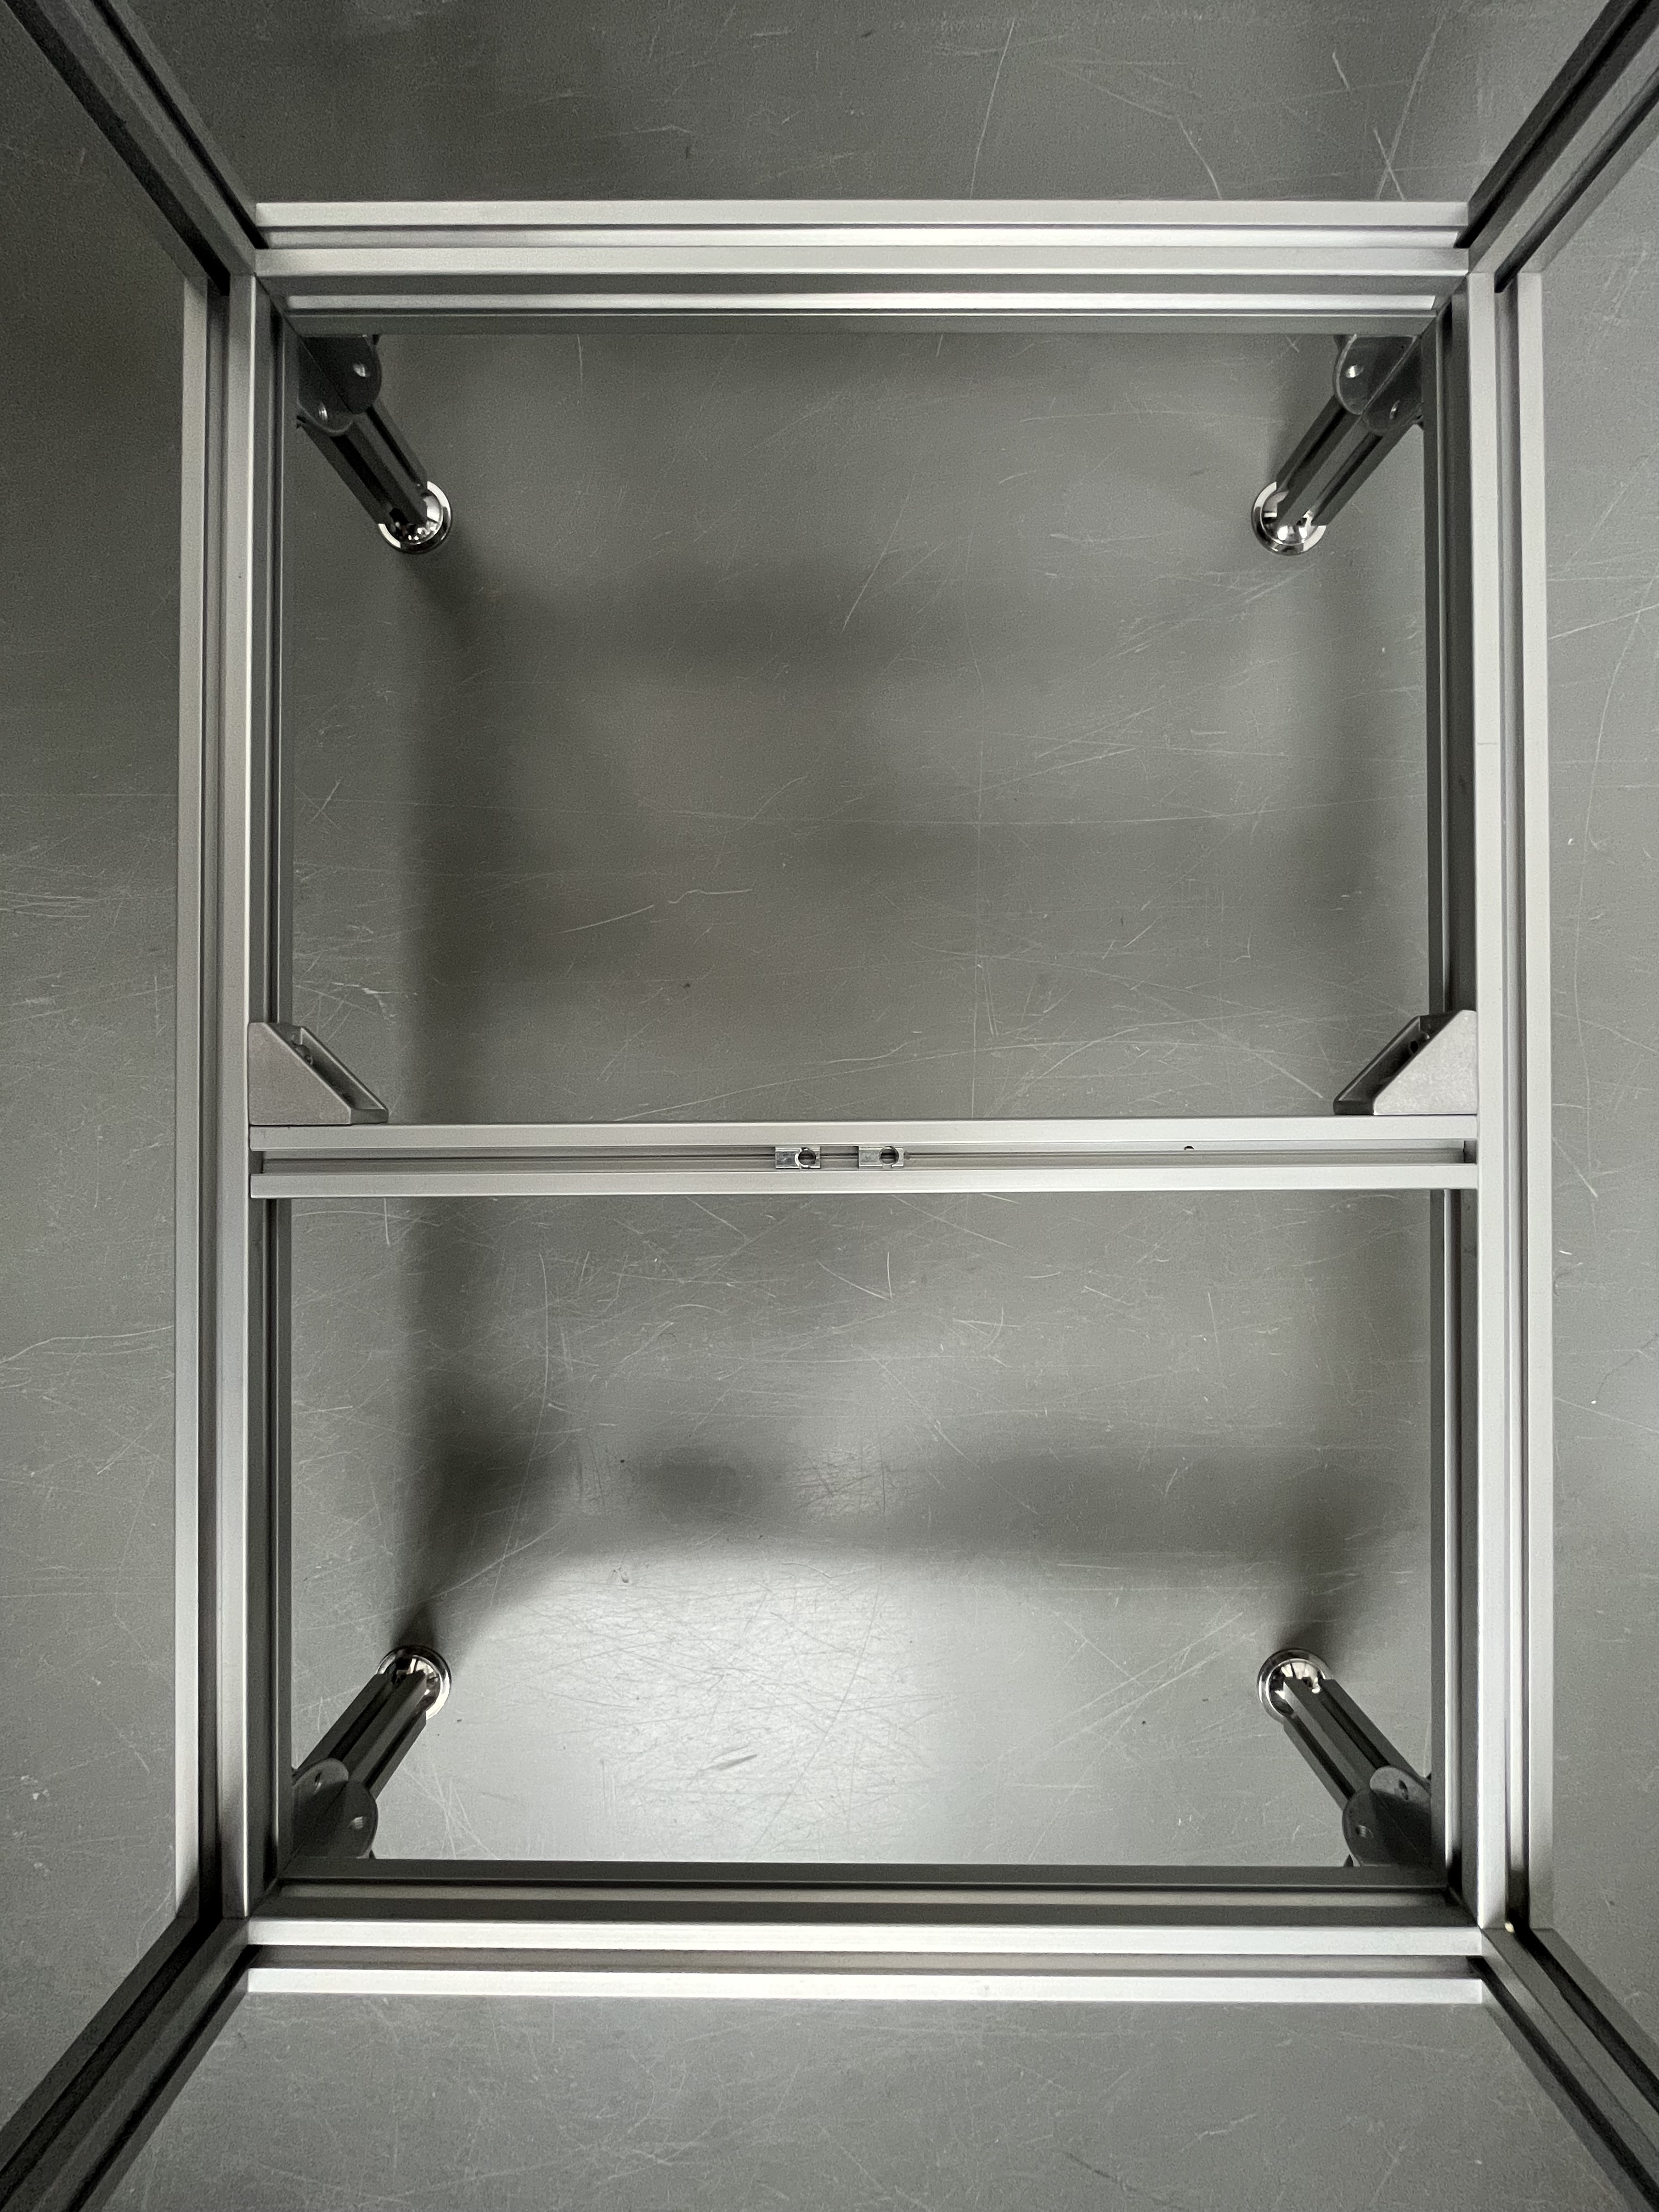
- Place the two nuts, which are already in the lower center aluminium strut profile, with a distance of 35 mm.
Placement of nuts in lower center strut

-
Mark two points with the distance of the threads on the 1.5mm 3D printed plate along one long side with 5 to 10 mm distance from the edge.
-
Drill holes with a 5mm drill at both places.
-
Take the Pixy Camera to mark on the other long side two more drill places with the distance of both holes from the fixation part of the Pixy Camera. The distance should be around 7 mm.
-
Drill holes with a 3mm drill at both places.
-
Connect the 3.5mm plate by using M5 screw (6mm) with the aluminium strut profile.
-
Connect the Pixy Camera to the 1.5mm plate by using M3 screw (5mm) and M3 hexagon nuts.
Note
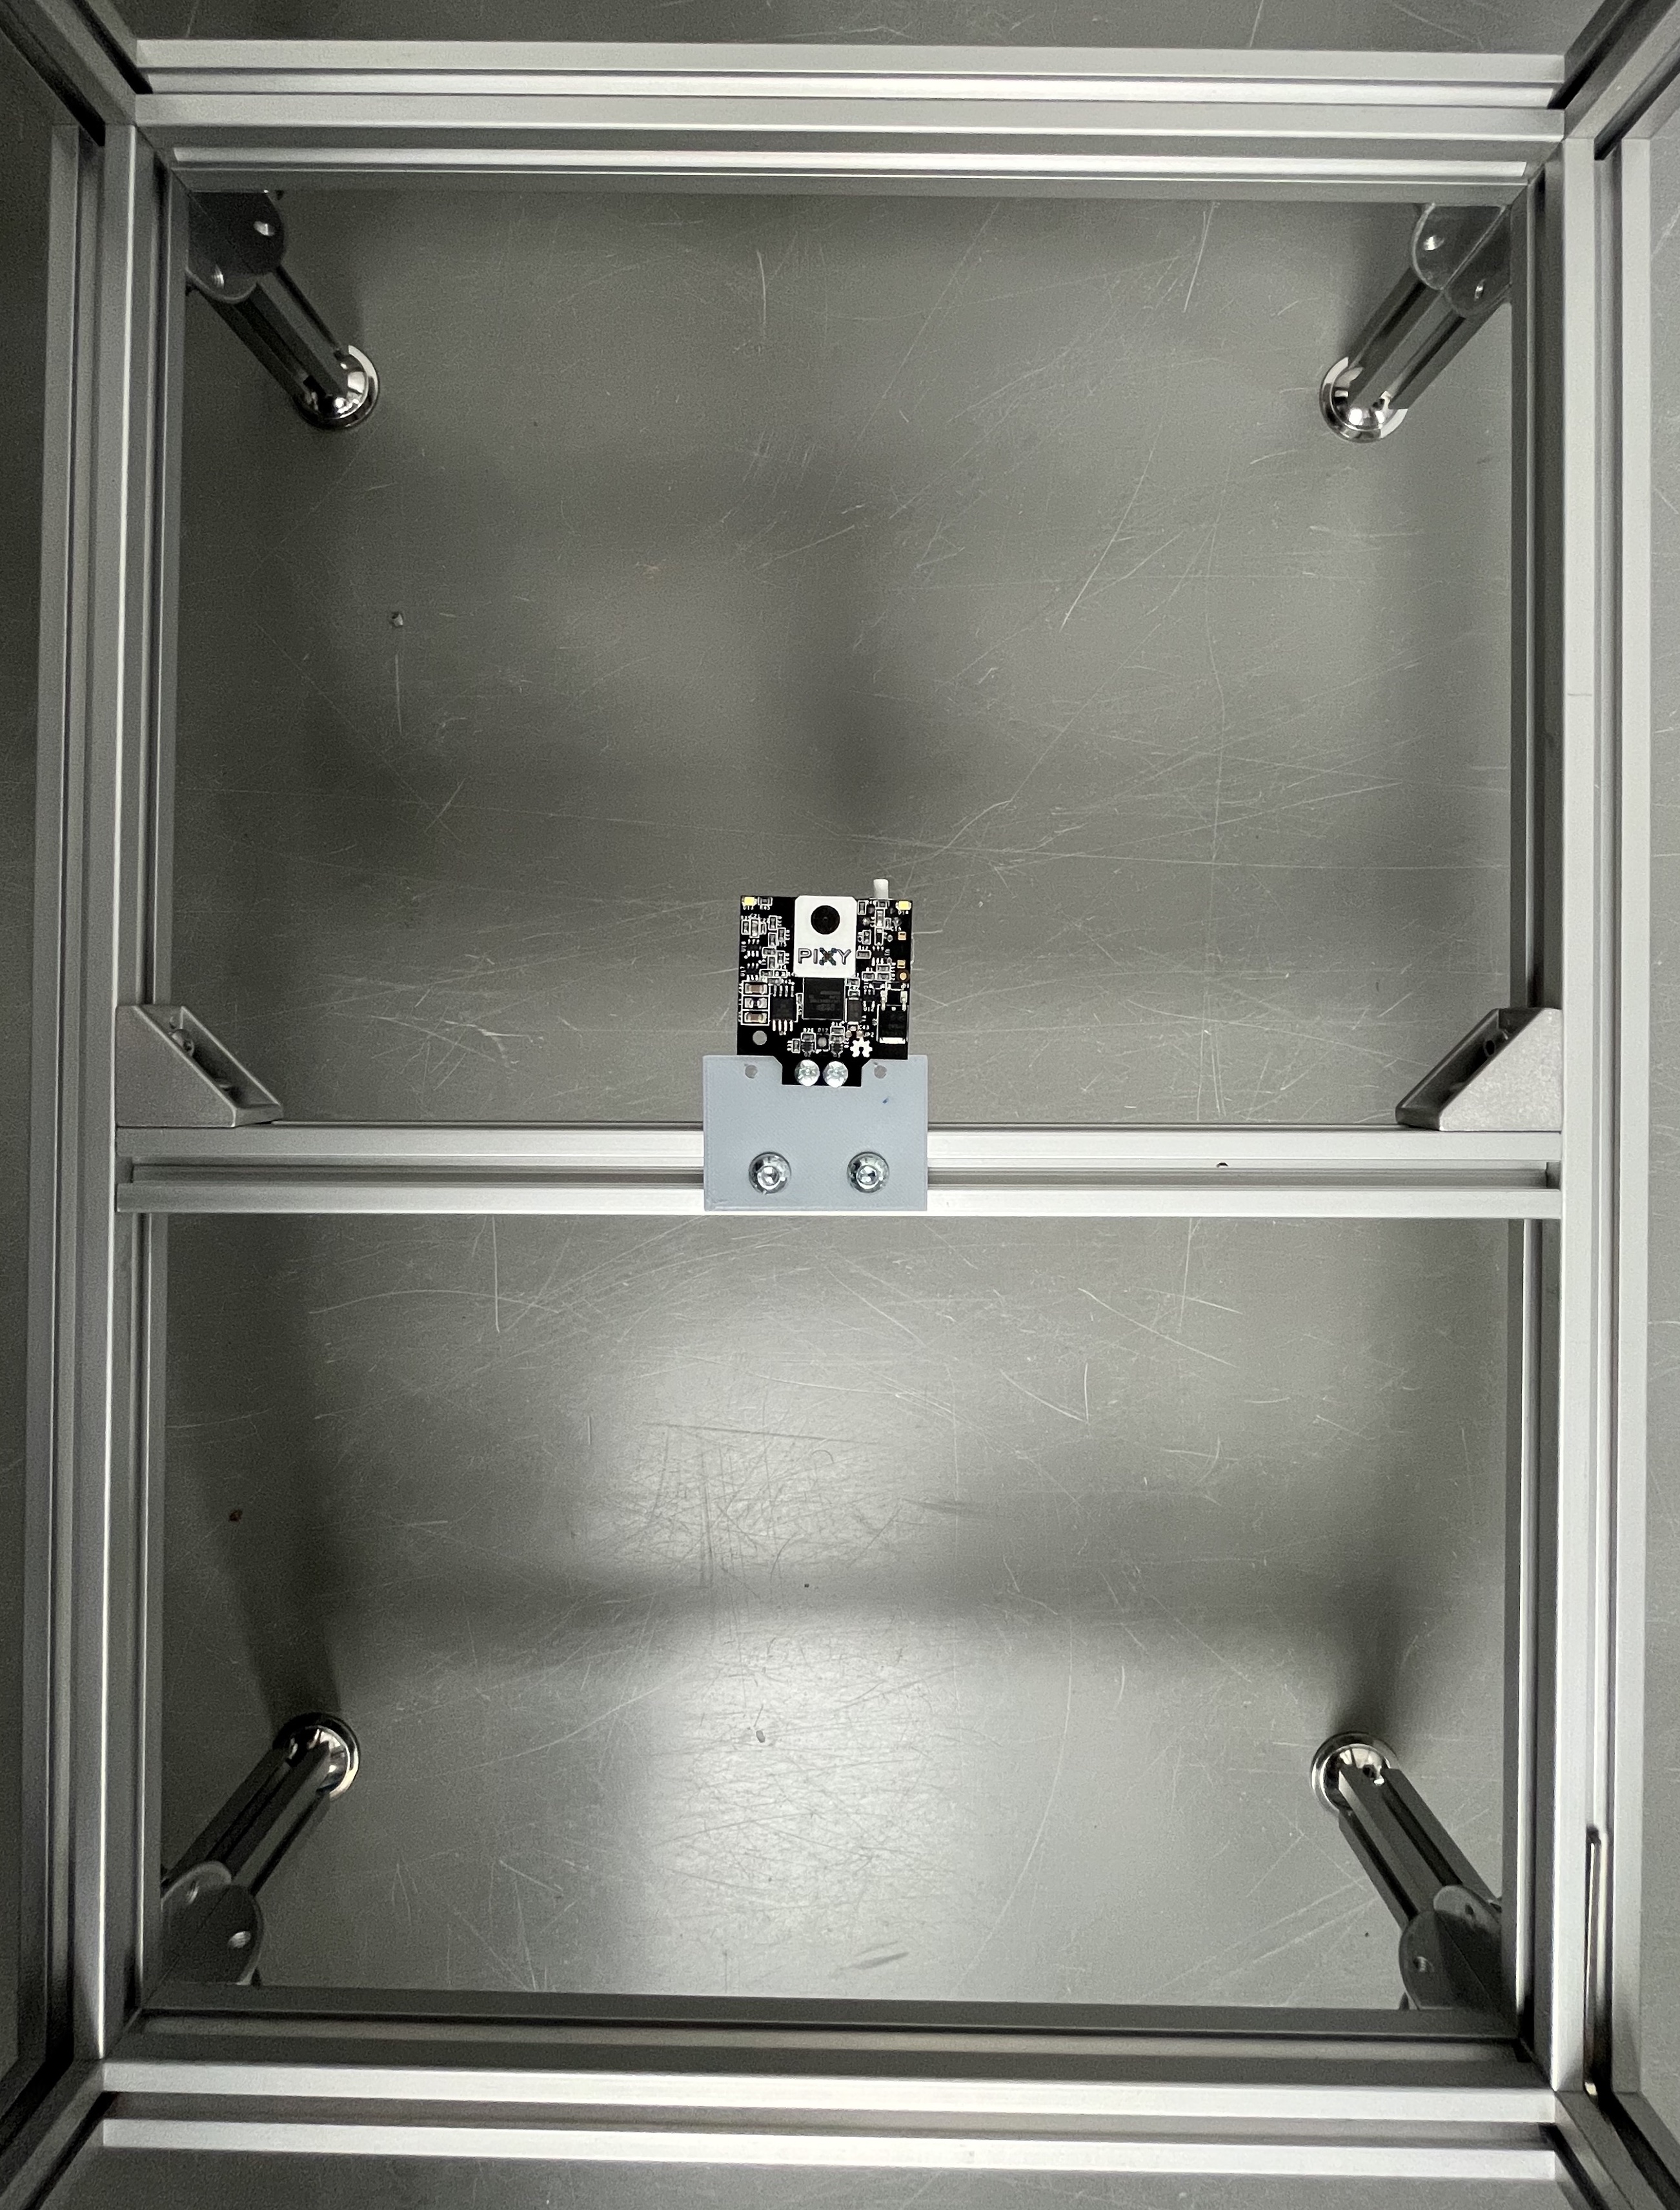
The Pixy Camera needs to face with the lens away from the side of the table the rewards is provided from to have the assumed orientation of the script.
You might need to shift the aluminium strut profile in the center a bit to have the Pixy Camera in the center.
Picture of the below the table placed camera
